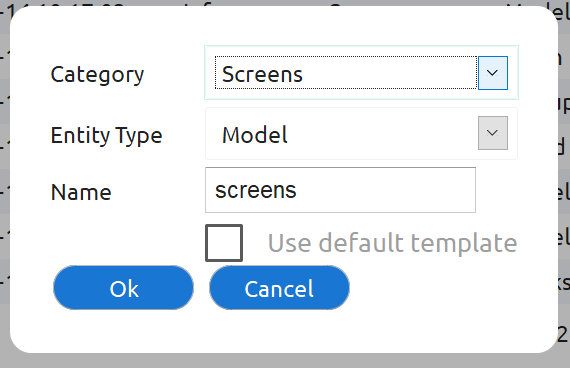
First create new model from the “Select Model” screen, (it is best to unselect the “use default template” as the default template is designed for processes), like so:
Note: As good practice, you should have one model per project that contains all the screens.
Within the “Web Pages” in the palette on the left, you will find Web Site & Web Page nodes, drag these onto the canvas, and connect them up (click on the Web Site and select connect, click on the Web Page), to create the following…
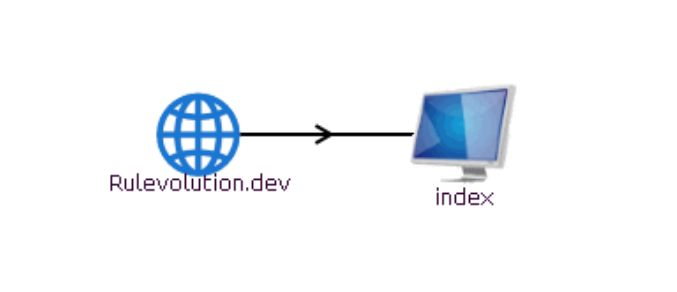
Note the following:
- The Web Site name of Rulevolution.dev denotes that this is a test site, when you later deploy this to production you will change this name,
- At least one of the pages should be named “index”, when the site is first visited, this is the page which is loaded initially, this is the default name for the first Web Page that you create in a model.
- The name can be changed at any point (and are used for navigation), by double clicking on the entry and entering the new name, however as they are used for navigation within the system, for easy of maintenance it is best to have a meaningful title.
Now we'll create the content of the web page:
Edit the Web Page, by selecting the page in question and selecting Edit, the following screen should appear:

The web page structure should always start with a Page node (created by default for a new page).
Any web page can then be created or altered by dragging items from the palette on the left onto items in the middle page (the page structure), the panel on the right will show what that web page will look like (there are some limitations in this “real” view, due to browser limitations, so it may not look exactly like the final article, so it is always worth doing a final check via the test URL, see below).
First create the following structure:
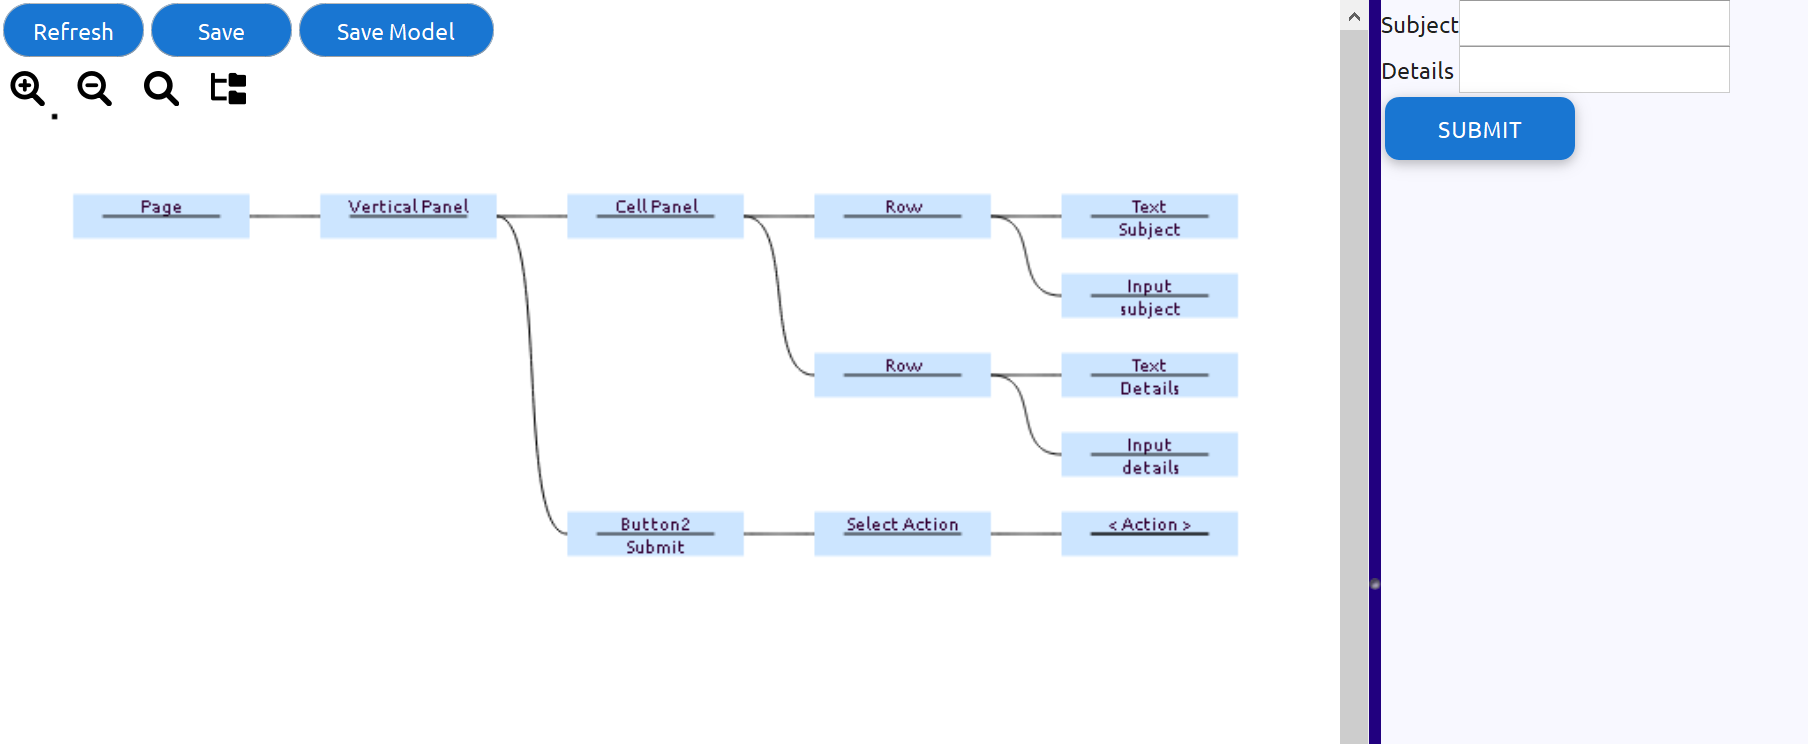
This will create an initial page (which we will style up later), when finished (for now), you need to both “Save” (which saves the new structure to the model), and “Save Model” (which saves the model).
You can now publish the page and access it, via the following steps:
From the “Model Edit” view, select the tools icon (cog)
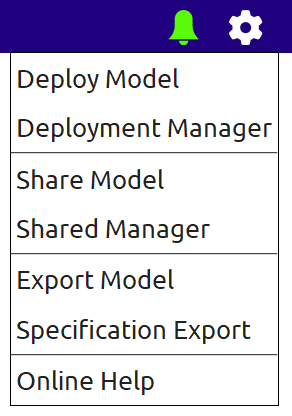
Select the “Deploy Model”
Select “OK” to confirm deployment
Once deployed, select edit on the Web Site node (Rulevolution.dev). Then select “View”:

As long as the model has been deployed, this will open up a new browser tab, accessing the new site.
Note: This URL is unique to your site, and can be remembered to access the site every time in the future (irrespective of alterations).