The key to any page is its look and feel, this can be added / altered at any point (without needing to be redeployed), by adding Cascading Style Sheet (CSS) information to the web page.
Many tutorials exist on the internet for those without existing CSS experience, a good starting point is those at w3schools.com.
To add style to the existing tutorial ticket system, this assumes you've already done the prior steps in the Create Web Page tutorial.
On the Web Page editing screen, either the vertical frame can be selected on the web view (right hand side), or the item in the structure window can be selected, and Select selected. This will load the attributes into the Attributes window.
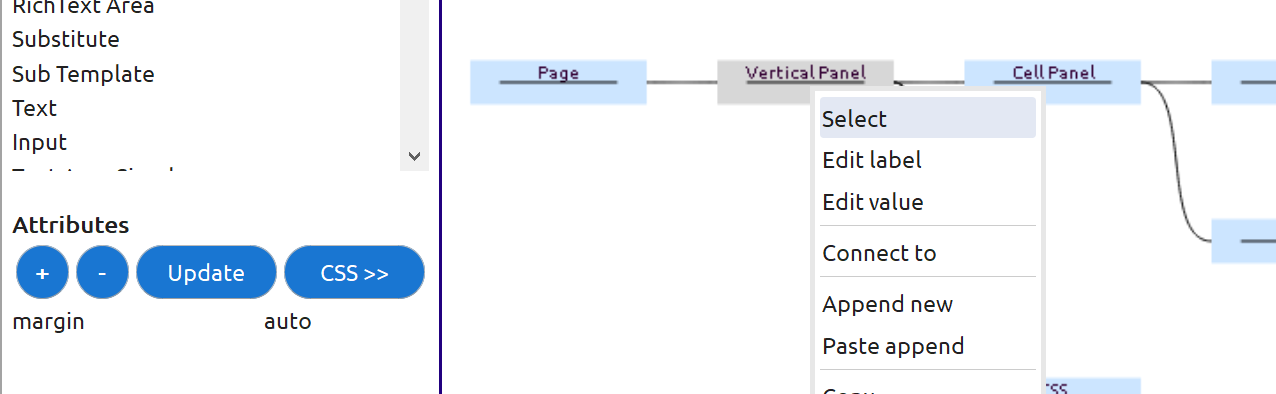
Selecting the add, then adding margin, press tab to move to the value side, enter auto, will centre the item (in this case the Vertical Panel) within the page. Alternatively, Append New can be used to add a CSS type node, and { margin: auto; } used as the value.
Adding a CSS node of {margin-right:20px;} to the Text / Headline node will add 20px of space to the right of the rendered text, thus padding out some space within the table. This can be continued to produce the desired effects.
¶ Global Styles - CSS
A better way (and more what CSS is designed for), is to create a style, and then apply that style to the item in question. To add CSS styles, use the CSS>> button.
- Note: All styles created / added under CSS>> are global for the whole site. Once a style has been defined, a CSS node with a value of the style name (no curly brackets) will cause that style to be applied to that component.
¶ Material Design
If there is a desire to use Material Design (a “flat” styling created by Google initially for Android devices), then within the Web Site node, set the node property of Add Material Design to Yes. This will then automatically include the standard Material Design CSS to all web pages for this site.
- Note: This is required for "Styled" controls to render correctly.
¶ Other CSS or HTML Header includes
Other HTML or header includes, for example other style sheets, can be added by adding the include entries to the Additions for HTML Header section within the Web Site node, any includes will automatically be added to all pages for that site.